On iOS devices, monitoring Linux servers via SSH is very common and there are many tools and programs available. However, there is a dearth of monitoring solutions for Windows and macOS servers, with few resources and applications available. In particular, there are fewer applications that can effectively monitor both types of systems, making it more challenging for system administrators to manage multiple types of servers.
ShellBean will still facilitate the monitoring of Windows and macOS servers over SSH with the help of the open source software Glances. By following a few simple steps, users will be able to do these monitoring operations on iPhone and iPad easily. In the following, we will introduce the detailed operation methods and steps, so that you can successfully complete the server monitoring setup.
Enabling SSH for Windows or macOS Servers
Enabling SSH for Windows
To enable SSH on Windows, follow these steps:
Check if OpenSSH is Installed
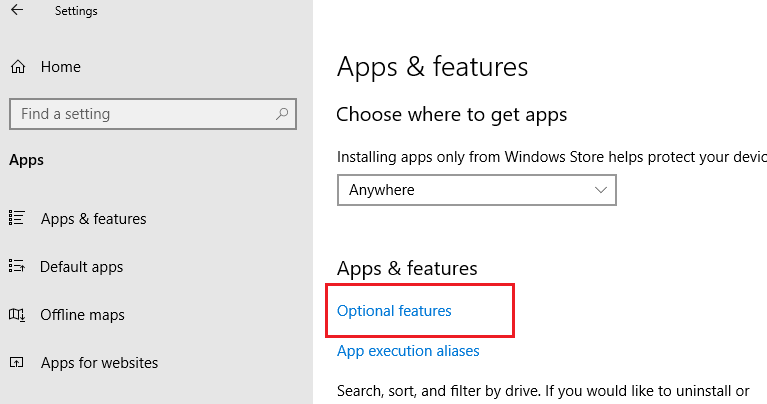
- Open Windows Settings and go to "Apps" > "Optional Features."
- Look for "OpenSSH Server" in the list of installed features. If not found, you need to install it manually.

Install OpenSSH Server
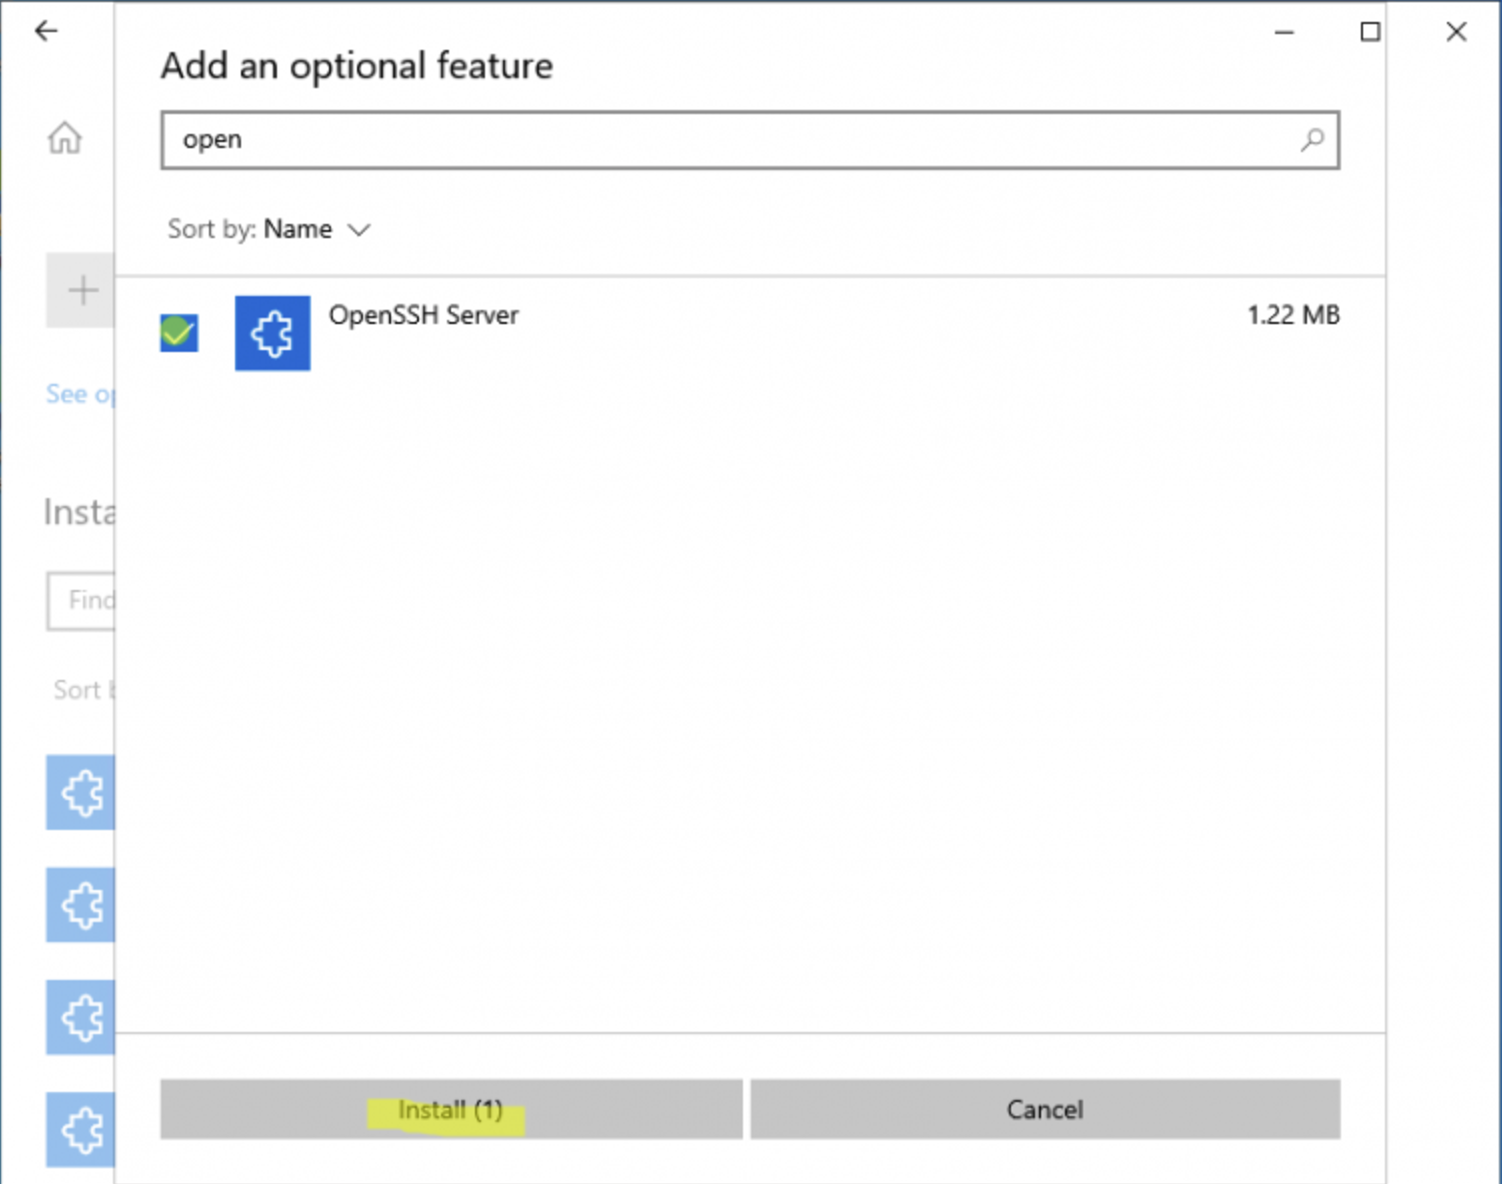
- Click "Add a feature," search for "OpenSSH Server," and install it.

- Click "Add a feature," search for "OpenSSH Server," and install it.
Start the SSH Service
- Press Win + R to open the Run dialog.
- Type
services.mscand press Enter. - Find the "OpenSSH SSH Server" service.
- Right-click and select "Start," and set the "Startup type" to "Automatic."
Enabling SSH on macOS
Enabling SSH on macOS is relatively straightforward. Here are the detailed steps:
Enable Remote Login
- Open System Preferences:
- Search for and click "Sharing."
- In the left column of services, enable "Remote Login".
- Highlight the "Remote Login" service and enable access for the users you would like to have SSH access.
- You can select all users, or specific users by selecting "Only these users:" and adding the appropriate users by clicking "+".
Check SSH Service Status
- Open Terminal and enter the following command to check the SSH service status:
sudo systemsetup -getremotelogin - If it shows "Remote Login: On," the SSH service is successfully enabled.
- Open Terminal and enter the following command to check the SSH service status:
Get Connection Information
- In Terminal, enter the following command to get your local IP address:
ifconfig | grep "inet "
- In Terminal, enter the following command to get your local IP address:
Test SSH Connection
- You can test the SSH connection using the following commands:
- For local testing:
ssh localhost - For remote connection (replace
usernameandip_addresswith actual values):ssh username@ip_address
- For local testing:
- You can test the SSH connection using the following commands:
Installing Glances on the Servers to be Monitored
Installing Glances on Windows
Glances is a cross-platform system monitoring tool written in Python. Here are the detailed steps to install Glances on Windows:
Install Python
- Ensure Python (version 3.7 or higher) is installed on your system:
- Visit the Python official website https://www.python.org/downloads/.
- Download and install the latest version of Python.
- During installation, check the "Add Python to PATH" option.
- Ensure Python (version 3.7 or higher) is installed on your system:
Install Glances using pip
- Open Command Prompt or PowerShell and enter the following commands:
pip install glances
pip install windows-curses
- Open Command Prompt or PowerShell and enter the following commands:
Start Glances
- After installation, you can start Glances by entering the following command in the command line:
glances -V - This will confirm that Glances is running properly.
- After installation, you can start Glances by entering the following command in the command line:
Installing Glances on macOS
There are several methods to install Glances on macOS. Here are the most common ones:
Install using Homebrew (Recommended)
- Homebrew is the most popular package manager for macOS, and the installation process is straightforward:
- If Homebrew is not installed, first install it:
/bin/bash -c "$(curl -fsSL https://raw.githubusercontent.com/Homebrew/install/HEAD/install.sh)" - Use Homebrew to install Glances:
brew install glances
- If Homebrew is not installed, first install it:
- Homebrew is the most popular package manager for macOS, and the installation process is straightforward:
Install using pip
- If you have Python installed, you can also use pip to install:
pip3 install glances
- If you have Python installed, you can also use pip to install:
Verify Installation
- After installation, you can run the following command in Terminal to check the version:
glances --version - If installed successfully, you will see the version information for Glances.
- After installation, you can run the following command in Terminal to check the version:
Configuring Server Address and Enabling Glances Extension in ShellBean
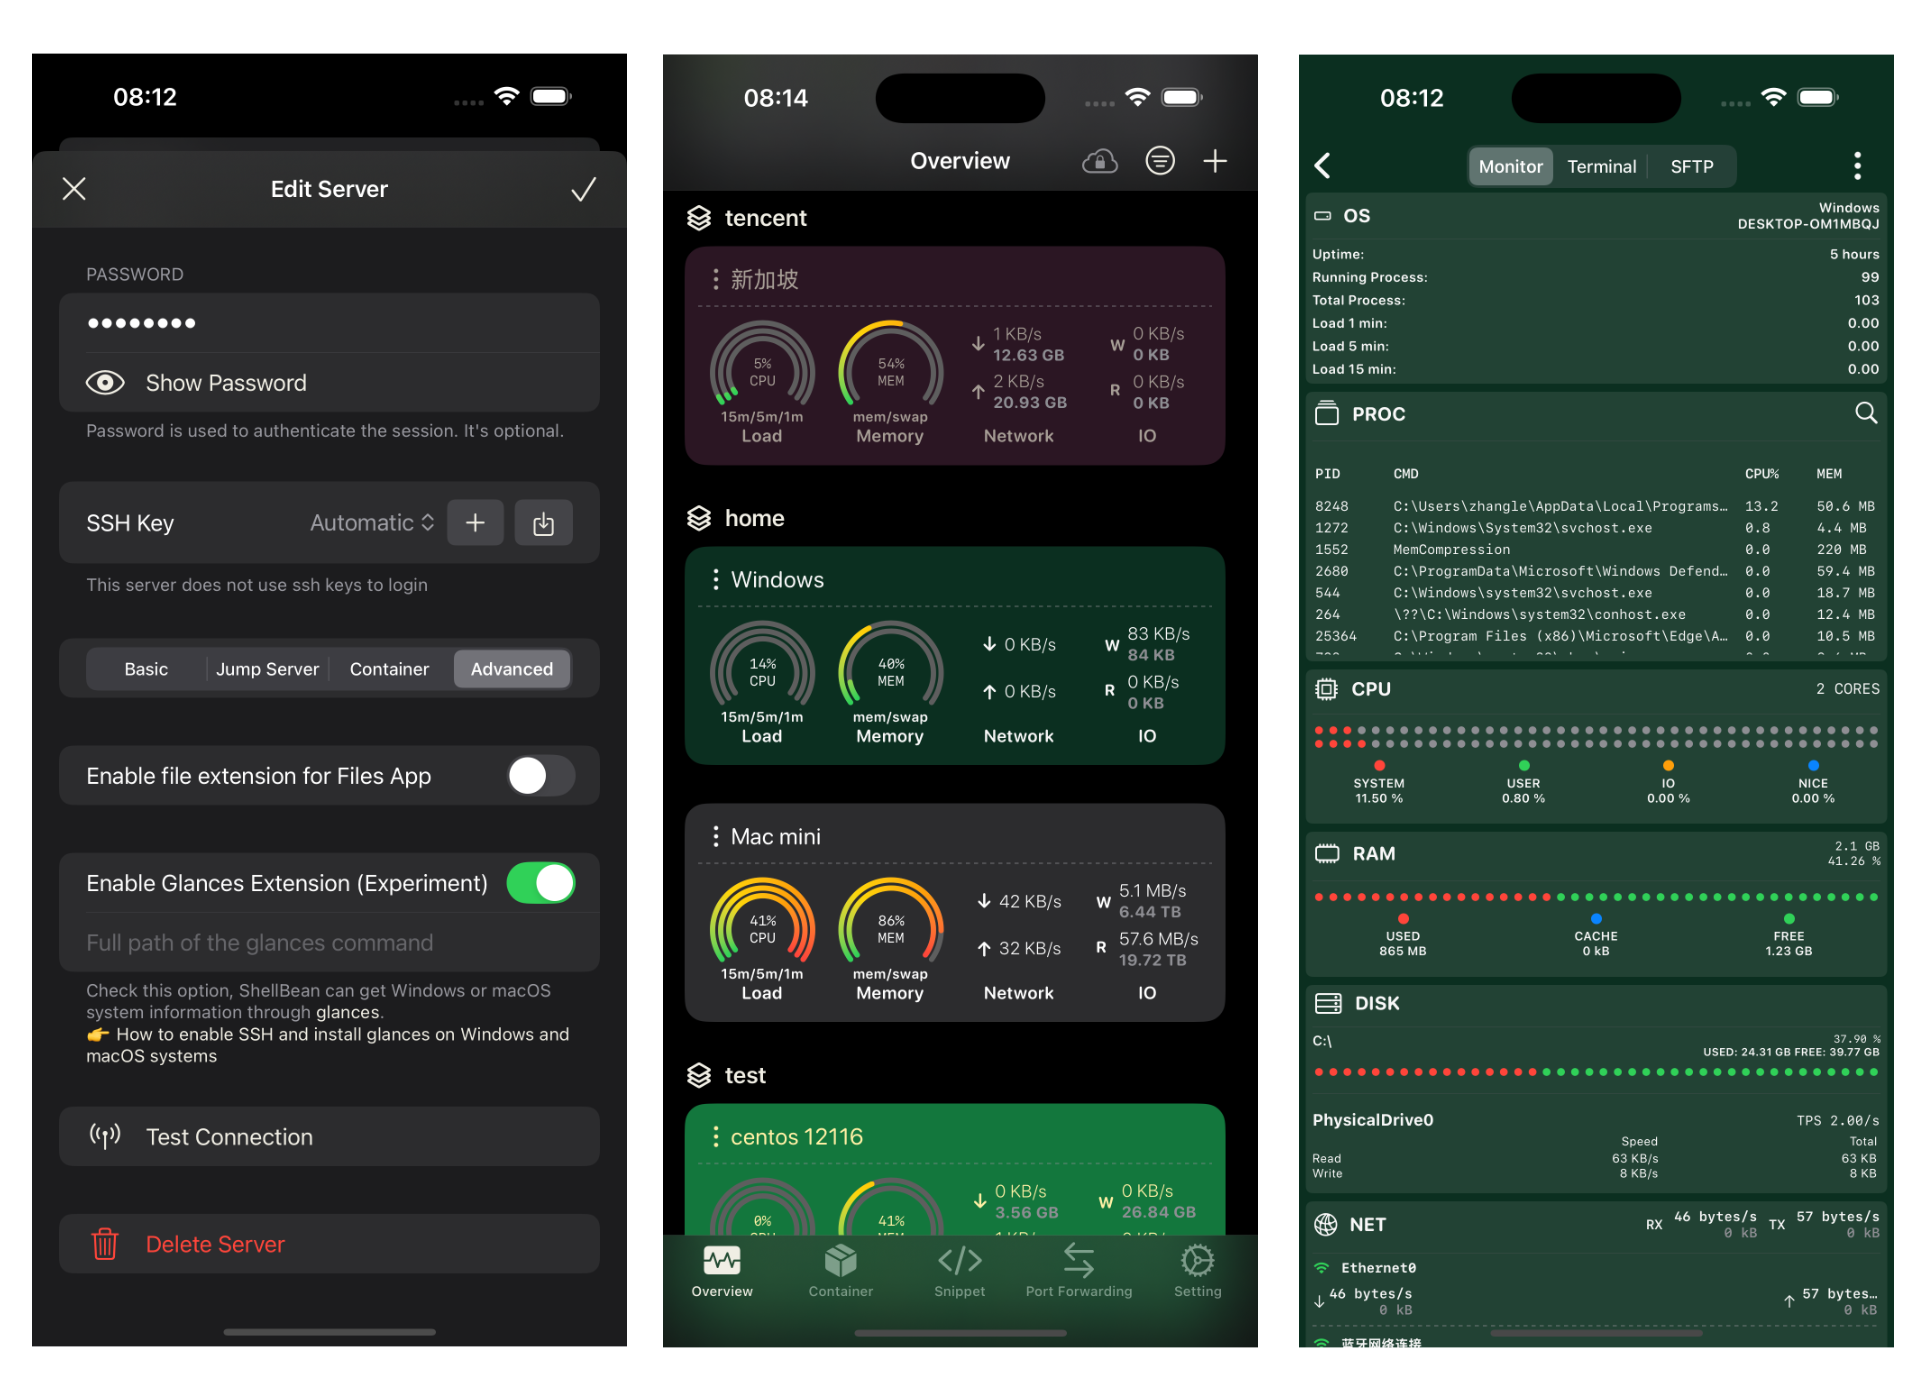
Edit the server configuration, select "Enable Glances Extension," and enter the path to the Glances command. Click to complete and save the configuration.
